 Save
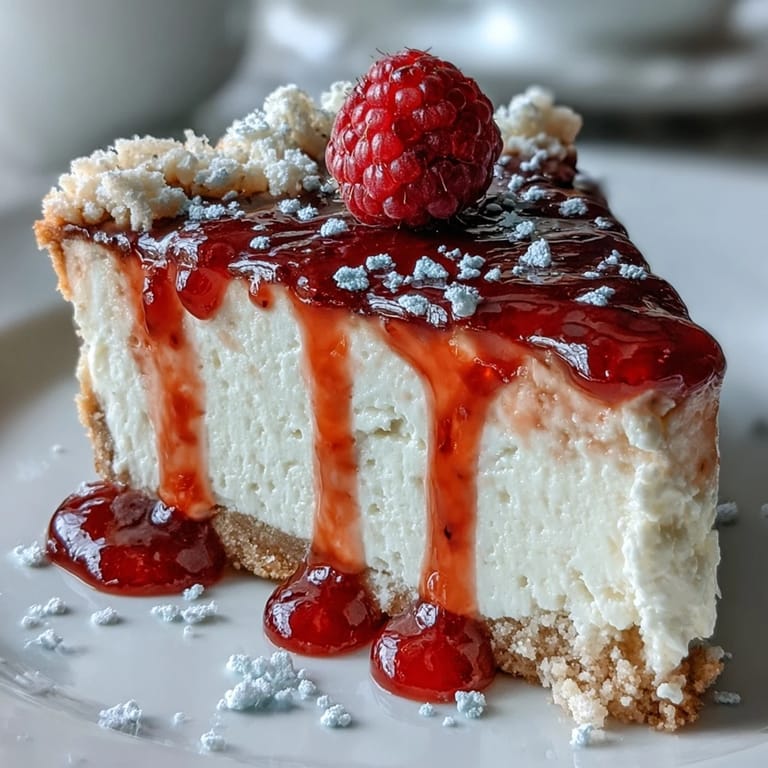
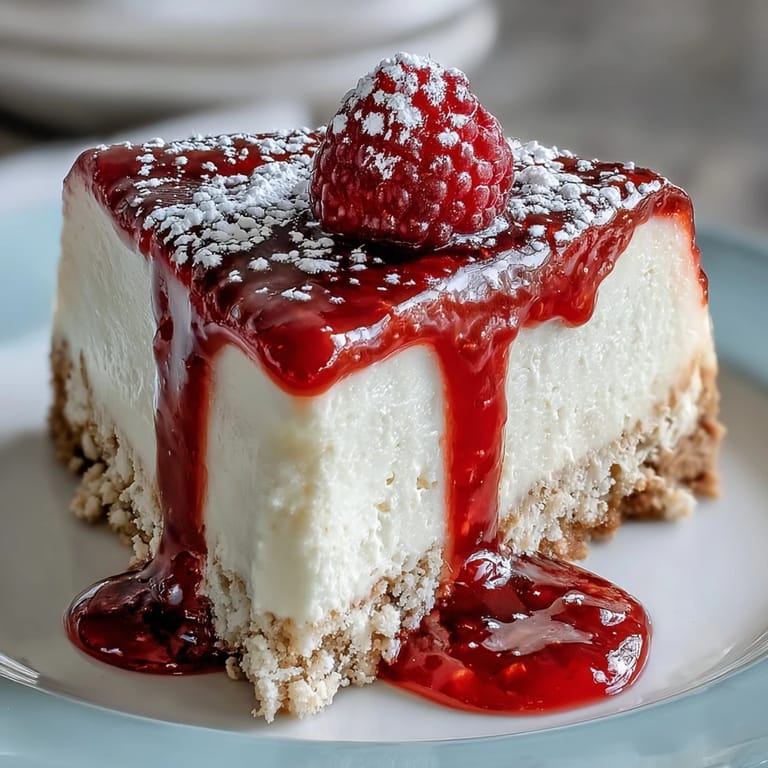
Save The hum of the mixer and the faint smell of vanilla have a way of making my kitchen feel instantly inviting, especially on those weekends when something sweet is in order. One sunny Mother’s Day, I decided against the oven’s heat and instead set out to make a cheesecake that relied only on cool patience and fresh flavors. It’s funny how a simple blend of cream cheese and double cream can feel like a small luxury with each satisfying spoonful. The raspberry coulis brings a pop of color and a tart finish, turning a humble dessert into a centerpiece. This no-bake cheesecake managed to turn a spontaneous craving into a masterpiece that needed nothing but a little time to set.
I’ll never forget the first time I brought this chilled cheesecake to the table—my mum laughed as I struggled to release it neatly from the springform, only for our dog to circle hopefully nearby. Crumbs went everywhere, but the creamy center and glossy raspberry swirl drew everyone in. Just as the first slices were plated, conversations quieted to pure enjoyment. It made me realize that the thrill of unveiling a homemade dessert can be as rewarding as the treat itself.
Ingredients
- Digestive biscuits (or graham crackers): Their crumbly texture creates a sturdy yet tender base—after crushing, I always taste a pinch to ensure just the right fineness.
- Unsalted butter: Melting the butter fully helps every crumb cling together, giving a rich, even crust after chilling.
- Cream cheese: Letting it soften at room temperature means your filling will come out smooth—no lumps make for a silkier bite.
- Double cream (heavy cream): Whip it cold for volume and stability; it helps the cake hold its shape when sliced.
- Powdered sugar: Much better than granulated here, since it dissolves instantly for a creamy, lump-free filling.
- Vanilla extract: Don’t skimp on this—it’s the subtle note that ties the sweetness together.
- Lemon juice: Just a touch brightens everything; I sometimes add a little zest for extra flair.
- Fresh raspberries: Even frozen, once thawed, bring plenty of vibrant, tangy flavor to the coulis.
- Granulated sugar: Essential for balancing the tart fruit, but easy to adjust if you prefer things slightly less sweet.
Tired of Takeout? 🥡
Get 10 meals you can make faster than delivery arrives. Seriously.
One email. No spam. Unsubscribe anytime.
Instructions
- Crush and Combine
- Dump those digestive biscuits in a bag and smash them to sandy crumbs—the more even, the better for a solid crust. Mix in the melted butter until the mixture feels like damp sand between your fingers.
- Press and Chill
- Tip the crust mixture into your lined tin and press down firmly, smoothing to every edge. Slide it into the fridge for 20 minutes—this step makes or breaks the base, so don’t rush it.
- Mix the Filling
- Beat the cream cheese until silky, then stir in the powdered sugar, vanilla, and lemon juice. Whip the cold double cream until just holding soft peaks, folding it gently into the cheese mixture so all stays light and airy.
- Fill and Set
- Spoon the dreamy filling over your chilled crust, working it to all corners, then smooth the top. Cover and refrigerate for at least 6 hours, or overnight if you can wait—the anticipation is worth it.
- Cook the Coulis
- Combine raspberries, sugar, and lemon juice in a saucepan; let them simmer until everything looks glossy and some berries burst. Strain through a fine sieve to remove seeds, letting the beautiful ruby sauce cool.
- Unmold and Serve
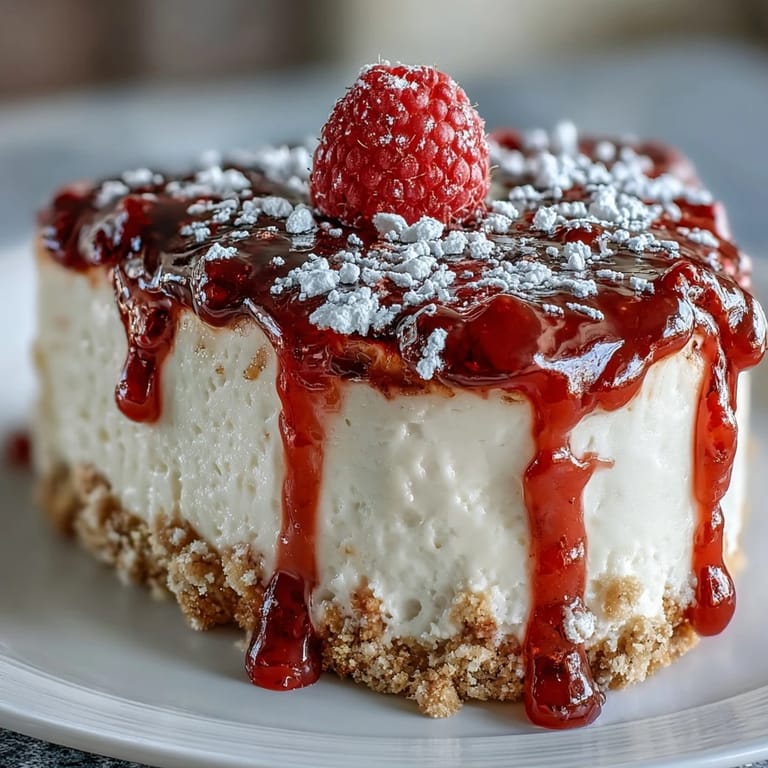
- Carefully unclasp the tin and transfer your cheesecake to a plate. Drizzle generously with coulis and scatter a few fresh berries if you’re feeling fancy—then admire your handiwork before slicing into bliss.
 Save
Save There was a Mother’s Day when my niece insisted on adding her own scattering of berries and the result—slightly off-center, joyously messy—was even more beautiful. In that moment, the cheesecake became more than dessert; it was our little group project and a highlight of the day.
Choosing Your Biscuit Base
After some trial and error, I found that digestive biscuits hold up better than most cookies, but graham crackers work if you want a milder flavor. For a gluten-free crowd, I reached for oat biscuits with success. Sometimes, I add a pinch of cinnamon or even swap a third of the crumbs for toasted nuts for extra depth. The crust is where you can get creative without risk.
Coulis Swapping and Garnishing
When raspberries aren’t in season, strawberries or blueberries do wonders—and a handful of blackberries deepens the color. I’ve even used a spoonful of leftover coulis to stir into the filling for a ribboned effect. A sprig of mint or a dusting of powdered sugar on top makes the cheesecake look straight from a bakery. Presentation can be as relaxed or fancy as the occasion calls for.
Slicing and Serving for Guests
If you run a knife under hot water before every slice, you’ll get impressively clean edges to your cheesecake. Serving straight from the fridge keeps the filling firm and each bite satisfyingly cool, even on a warm afternoon. I sometimes set up a mini topping bar—extra coulis, berries, a little chocolate—for a fun DIY finish.
- Let guests drizzle their own coulis for extra flair.
- Leftovers keep well, but cover loosely to stop any odors sneaking in.
- Don’t forget to return any uneaten cheesecake quickly to the fridge so each piece stays dreamy and fresh.
 Save
Save Every time I serve this no-bake cheesecake, I’m reminded that the simplest pleasures are often the most cherished. Here’s to kitchen shortcuts that still deliver pure joy.
Recipe FAQs
- → How do I stop the crust from becoming soggy?
Press the biscuit and melted butter mixture very firmly into the tin and chill for 20 minutes before adding the filling. Toasting the crumbs lightly before mixing with butter can add extra crunch and reduce sogginess.
- → How can I get an ultra-smooth filling?
Bring cream cheese to room temperature and beat until completely smooth before adding powdered sugar and lemon. Whip the double cream to soft peaks and fold gently to preserve air and texture for a silky finish.
- → How long should the cheesecake chill to set properly?
Refrigerate for at least 6 hours, though overnight is best for a firm, sliceable texture. Keep covered to avoid absorbing fridge odors and to maintain a glossy top.
- → Can I use frozen raspberries for the coulis?
Yes. Thaw frozen raspberries fully, then cook with sugar and lemon as directed. You may need a minute or two longer; strain through a fine mesh sieve to remove seeds and get a smooth coulis.
- → How do I make the coulis seed-free and glossy?
Cook raspberries with sugar and lemon until they break down, then press the mixture through a fine mesh sieve. Return to the pan briefly to reduce if needed for a thicker, glossy pour.
- → Can I make this gluten-free or swap fruits?
Use gluten-free biscuits for the crust and check labels for dairy items. For the coulis, swap raspberries for strawberries or blueberries, adjusting sugar to taste based on fruit sweetness.