 Save
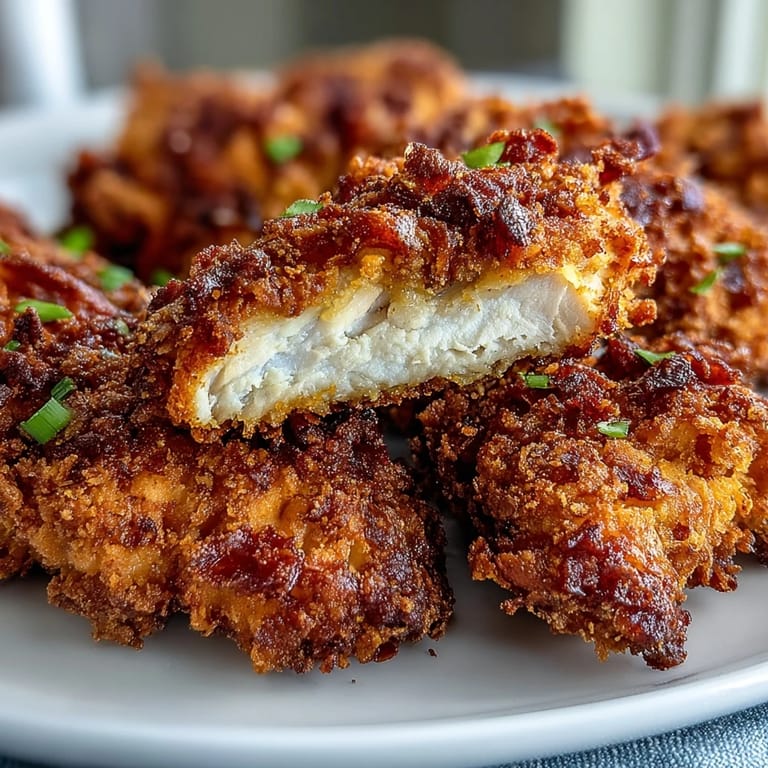
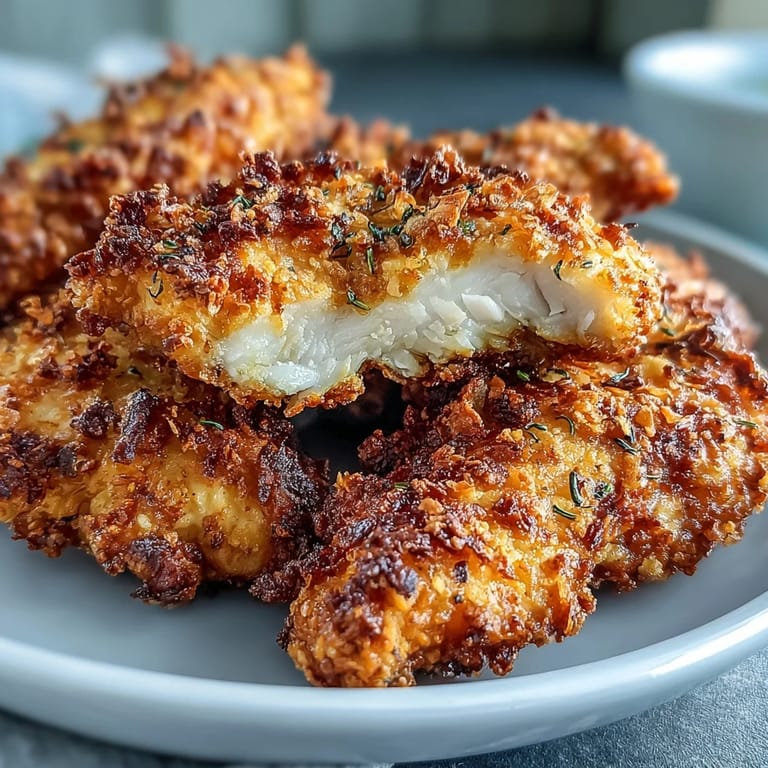
Save There's something about the crisp of a perfectly fried chicken tender that captures the essence of comfort food. The first time I stumbled upon pickle-brined chicken, I was intrigued by the unexpected tang. My curiosity spiraled into a culinary adventure, leading me to experiment with the bright flavors of dill pickles, which ultimately transformed ordinary chicken into a juicy, crispy delight. It was a day filled with laughter, as my friends gathered around the kitchen, eager to taste the bold new recipe I had devised. Little did I know, this would become a regular rotation on our weeknight dinner menu.
Not long ago, I made these chicken tenders for a casual get-together, and they disappeared faster than I could keep up with the batches frying in the skillet. Friends were rushing back for seconds, laughing and dipping into bowls of spicy mayo and ranch, their tastes mingling with the aromas of hot oil and spices. It felt like a culinary celebration of flavors that brought us together, providing an effortless party mood that only good food can inspire. We spent the evening sharing stories, winging our way into a carefree atmosphere filled with good company. It was one of those moments where food became the centerpiece of joy and connection.
Ingredients
- Chicken Tenders: They are tender, juicy, and absorb the pickling flavors beautifully—you can also use chicken breasts cut into strips.
- Dill Pickle Brine: This is the game-changer; make sure to choose a quality brine for that tangy punch.
- Hot Sauce: Just a teaspoon adds a nice kick but feel free to adjust it based on your spice tolerance.
- All-Purpose Flour & Cornstarch: This combination ensures the crispiest coating; don't skip the cornstarch!
- Seasonings: Paprika, garlic powder, and onion powder add depth and flavor, making each bite irresistible.
- Vegetable Oil: A must for frying; choose an oil with a high smoke point for the best results.
Tired of Takeout? 🥡
Get 10 meals you can make faster than delivery arrives. Seriously.
One email. No spam. Unsubscribe anytime.
Instructions
- Brine It:
- Combine the chicken, pickle brine, and hot sauce in a large bowl, making sure every piece is well-coated, then let it chill in the fridge for at least an hour. This step really infuses the chicken with flavor and keeps it juicy!
- Prep the Breading:
- In a shallow dish, mix flour, cornstarch, and seasonings until well combined. This will create the crispy exterior when fried.
- Coat the Chicken:
- Dip each chicken piece into the flour mixture, then the eggs, and back into the flour while pressing firmly for that thick coating. The more you press, the crunchier it'll be!
- Heat the Oil:
- In a skillet or Dutch oven, heat up the oil until it reaches 350°F (175°C). A splash test with a drop of the batter should sizzle; that's your cue!
- Fry Away:
- Fry the tenders in batches for roughly 3–4 minutes on each side until golden brown. Don’t crowd the pan, as that could lead to uneven cooking!
- Serve It Up:
- Drain the fried tenders on a wire rack or paper towels, then serve while hot with your favorite sauces. They'll be gone before you know it!
 Save
Save In those moments of frying, the sound of bubbling oil becomes a type of symphony, one that carries the promise of something delicious. Watching the chicken turn a glorious golden brown reminds me that sometimes, simple ingredients can lead to spectacular results. Every crunch brings you back to that joyful gathering around the table, reinforcing bonds over shared meals and laughter.
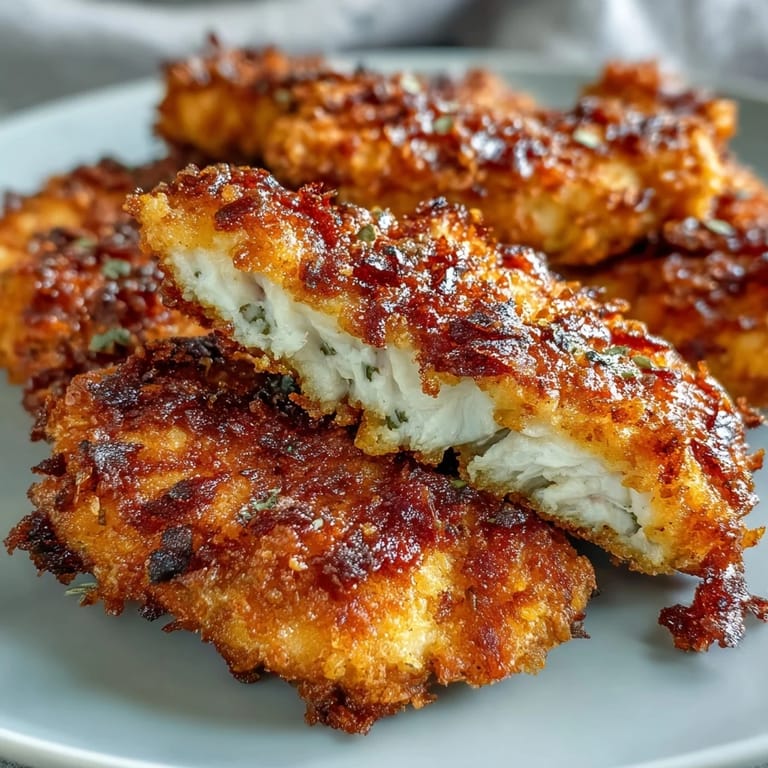
Crispy Satisfaction
A simple trick to enhance crunch is mixing in panko breadcrumbs with your flour coating—this extra texture takes it to the next level. Remember to adjust seasoning based on your taste; it's easy to get creative here! Savoring these tenders freshly fried means you've already won the chicken game.
Storing Leftovers
Although I can't promise they’ll last long, any leftovers can be stored in the fridge, loosely covered. Reheating them in the oven is the best way to bring back that crispy texture, far better than the microwave. When reheated, you can also drizzle some additional pickle brine over them for an extra zing!
Final Thoughts
Cooking should always feel liberating, like a spontaneous road trip into the vast landscape of flavors. Enjoy every bite, celebrate your culinary successes, and make these tenders your own!
- Always taste your brine before using it; you want to ensure it’s packed with flavor.
- If you enjoy variation, try different sauces—experimenting is half the fun!
- Don't be afraid to adjust the seasonings to fit your palate; this recipe is flexible.
 Save
Save May your kitchen filled with laughter and delicious aromas create memories that last as long as the recipes themselves.
Recipe FAQs
- → How long should I marinate the chicken?
Marinate the chicken tenders in pickle brine for at least 1 hour, but up to 4 hours for more flavor.
- → Can I bake these chicken tenders instead of frying?
Yes, you can bake the tenders at 425°F (220°C) for 18–20 minutes on an oiled rack for a healthier version.
- → What can I use instead of buttermilk?
You can substitute buttermilk with non-dairy milk for a dairy-free option in the egg mixture.
- → What dipping sauces pair well with these tenders?
These tenders pair wonderfully with ranch, honey mustard, or spicy mayo for added flavor.
- → Can I use panko breadcrumbs for extra crunch?
Absolutely! For extra crunch, add ½ cup of panko breadcrumbs to the flour mixture before breading the chicken.