 Save
Save Stirring a batch of bubbling brown sugar syrup, the kitchen fills with a scent so deep and caramel-y it nearly erases any memory of store-bought bubble tea. The first time I tackled homemade boba, my kitchen looked like a tapioca starch blizzard, but the thrill of rolling perfect pearls by hand drew me right in. With every swirl of syrup in the glass, I imagined the way light would catch it in those glossy cafe cups. With a little practice, I discovered how spoonfuls of chewy tapioca can lift spirits on a rainy afternoon. This milk tea isn’t just a drink—it’s a whole little adventure, from start to last sweet sip.
One Saturday, a friend stopped by just as I was draining pearls for an experimental batch. We ended up laughing at sticky dough bits and taking turns shaping tiny boba balls—she still texts me photos of her lumpy but lovable versions. That day, making boba together almost stole the show from drinking it. The kitchen floor was a little mess, but that didn't matter compared to the joy in sharing each glass. It’s now our favorite way to turn an average day into something unexpectedly special.
Ingredients
- Tapioca starch: This forms the chewy foundation for homemade pearls—be sure to dust your hands and the board to keep things from sticking.
- Brown sugar: The deep, molasses-rich brown sugar wraps both pearls and syrup in a caramel hug—dark brown gives the richest color and flavor.
- Black tea: Bold black tea stands up beautifully to milk and sweet syrup—Assam or breakfast blends work magic here.
- Whole milk (or oat milk): The creaminess sets off the brown sugar’s intensity—oat milk brings a nutty sweetness if you’re dairy-free.
- Ice cubes: Don’t skip them—ice chills everything so each sip is crisp and refreshing.
Tired of Takeout? 🥡
Get 10 meals you can make faster than delivery arrives. Seriously.
One email. No spam. Unsubscribe anytime.
Instructions
- Shape and Cook the Pearls:
- Mix brown sugar and water until melted, then slowly fold in tapioca starch. Roll and knead while the dough is still warm, dusting liberally to prevent finger glue syndrome, then pinch into tiny balls—like crafting edible pearls with a friend at your side. Drop them into rolling-boil water and listen for the bouncy thunk, then simmer until they reach that perfect tenderness.
- Make the Syrup:
- Combine dark brown sugar with water and let it bubble gently—soon, a glossy syrup will coat your spoon and perfume your kitchen. Slide in the warm, plump pearls and allow them to steep, soaking up every bit of sweetness.
- Brew the Milk Tea:
- Let the black tea steep until almost too strong, then swirl in milk and extra brown sugar to taste—feel free to adjust depending on your mood. Chill everything well (or pour over ice) to balance out the syrupy pearls.
- Assemble and Serve:
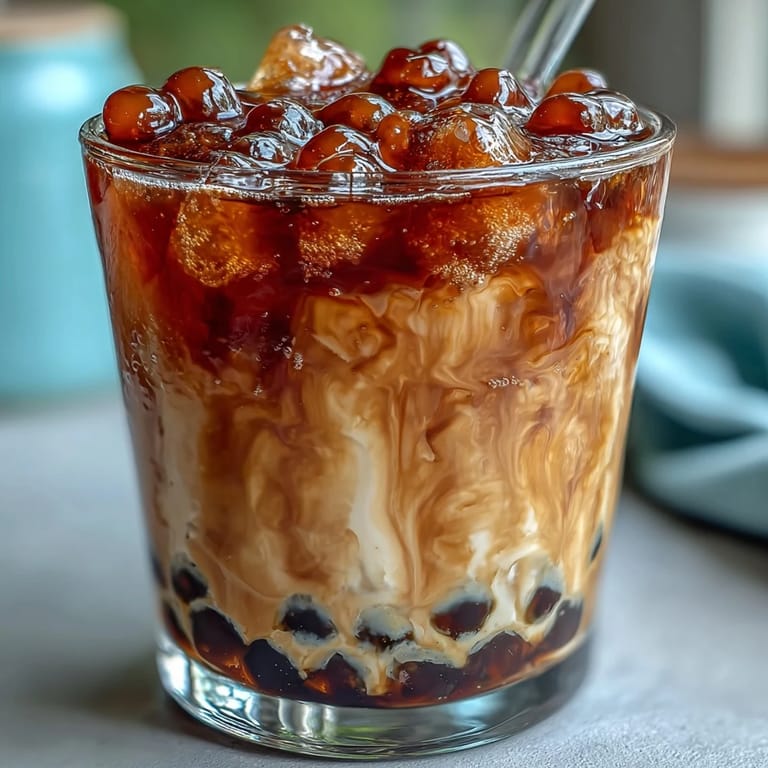
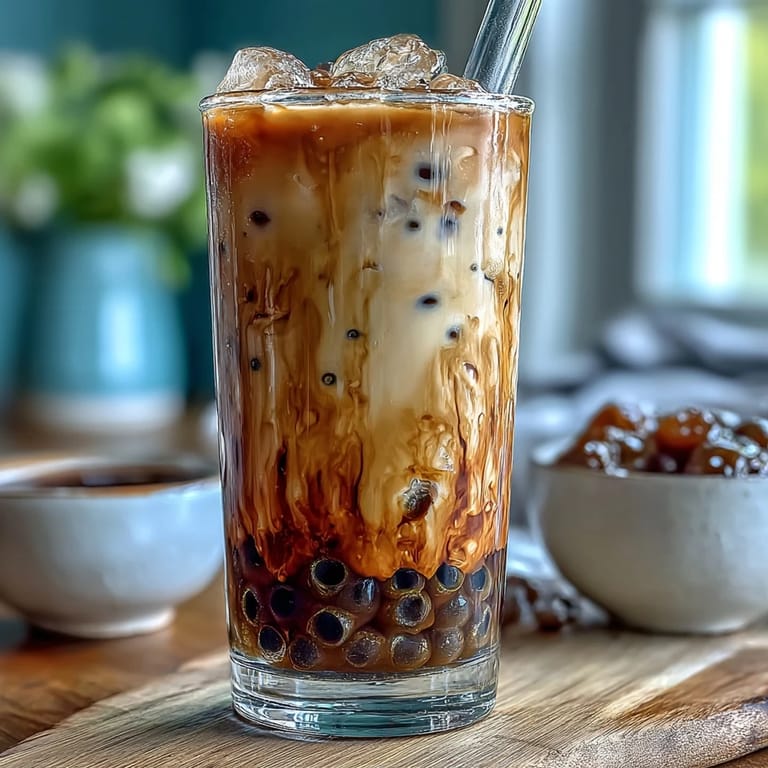
- Spoon the pearls and generous syrup into glasses, running syrup up the sides for an artful marbled effect. Add ice, pour in the fragrant milk tea, give it a gentle stir, and serve with a wide straw—admiring your masterpiece before the first sip.
 Save
Save The gentle clink of pearls against the glass always brings back the evening I made these for a late-night movie marathon. Watching friends’ faces light up at the first chewy sip, I realized these homemade cups had become a little tradition—it felt like a celebration disguised as a drink.
Troubleshooting Sticky Dough Moments
If your dough starts to cling to everything like gum, resist the urge to over-flour—just knead a bit more until it firms up. Warmer dough works best, so keep things moving quickly and gently. If pearls flatten out, they’re too warm—let your dough cool a minute. Rolling smaller pearls keeps them perfectly chewy once cooked. Practice really does make these better with every batch.
Nailing That Syrup Swirl
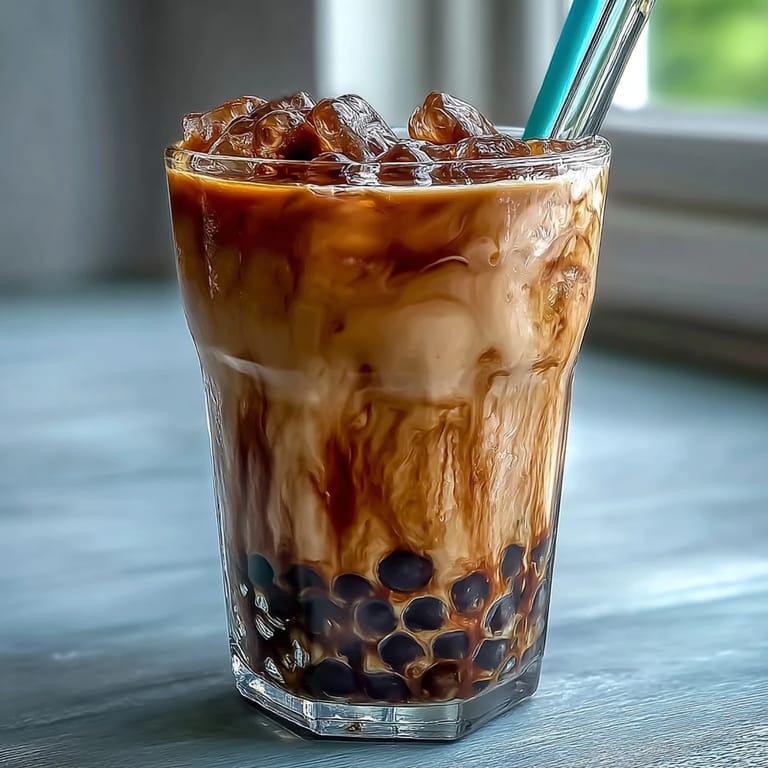
Swirling the brown sugar syrup up the insides of your glass makes every cup look like a boba shop treat. I found a slow, steady spin works better than racing up and down with a spoon. Don’t skimp on syrup—the bold flavor tugs every part together. Pearl texture and marbling are what set homemade apart from store-bought. Plus, a few extra pearls never caused complaints.
Tailoring Your Perfect Cup
Once you start customizing your milk tea, there’s no going back—from oat milk to a splash of vanilla, each choice changes the personality of your drink. Try different teas or adjust sweetness to reflect your own cravings. This recipe is a blank canvas, and every cup can be a little different.
- Creamy plant milks hold up well if dairy isn’t your thing.
- Double the batch and store pearls in syrup at room temp, but use them quickly for best texture.
- Play with ice or try serving warm in winter—both comfort in their own way.
 Save
Save Take a moment with your perfect boba: the pearls are tender, the syrup sings, and it’s all better than anything in a plastic cup. Promise, the little kitchen mess is always worth the delicious reward.
Recipe FAQs
- → How do I get chewy tapioca pearls?
Use the right ratio of tapioca starch and brown sugar dough, roll small pea-sized balls, boil vigorously for 20–25 minutes, then let them rest covered for 10 minutes to achieve a chewy center.
- → Can I make the syrup ahead of time?
Yes. Simmer dark brown sugar and water until slightly thickened, then keep pearls warm in the syrup. The syrup keeps the pearls moist and adds a glossy finish when assembling the drink.
- → What milk works best?
Whole milk gives a rich mouthfeel, while oat or almond milk is a great dairy-free alternative. Choose based on desired creaminess and dietary needs.
- → How can I adjust sweetness and tea strength?
Steep the black tea longer for stronger flavor, and add brown sugar to taste. Start with the suggested amounts and tweak hot — chilling mutes sweetness slightly.
- → How should I store leftover pearls?
Keep cooked pearls submerged in the brown sugar syrup at room temperature for up to 4 hours for best texture; refrigeration will firm them and alter chewiness.
- → Any tips for a glossy marbled glass?
Pour warm syrup along the inside of chilled glasses and swirl before adding ice and milk tea. The temperature contrast helps create the signature marbled appearance.