 Save
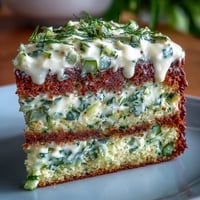
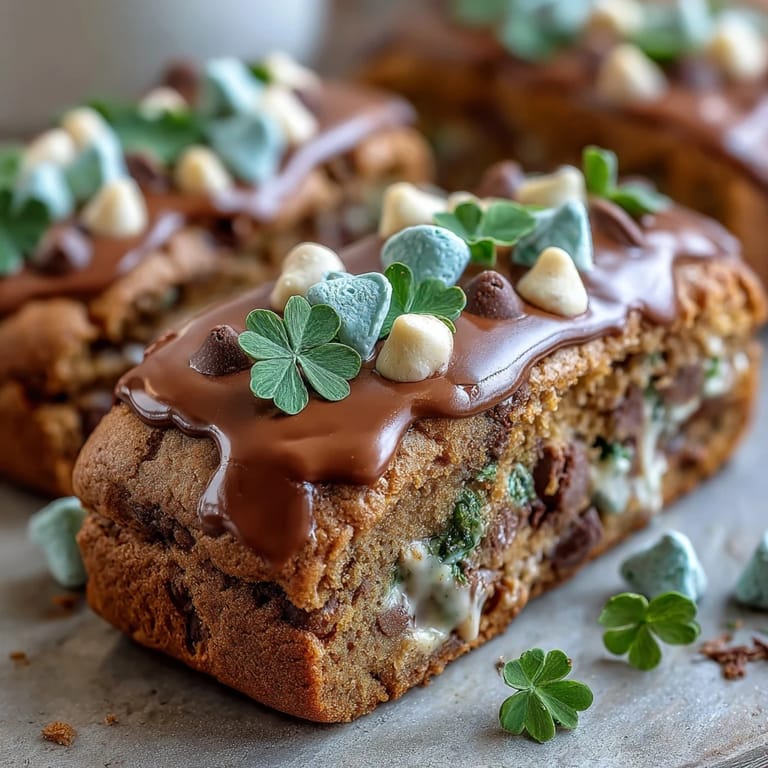
Save My kitchen smells like luck on March 16th every year, which is when I start these Lucky Clover bars instead of waiting until the actual holiday. There's something about the combination of melted butter and brown sugar hitting the pan while the oven preheats that just feels like the beginning of something celebratory. My neighbor once asked why I was baking so early, and I told her it was a test run—really I just couldn't wait another week. These bars have a way of disappearing faster than I can decorate them, so I've learned to make a double batch and hide one pan in the back of the freezer.
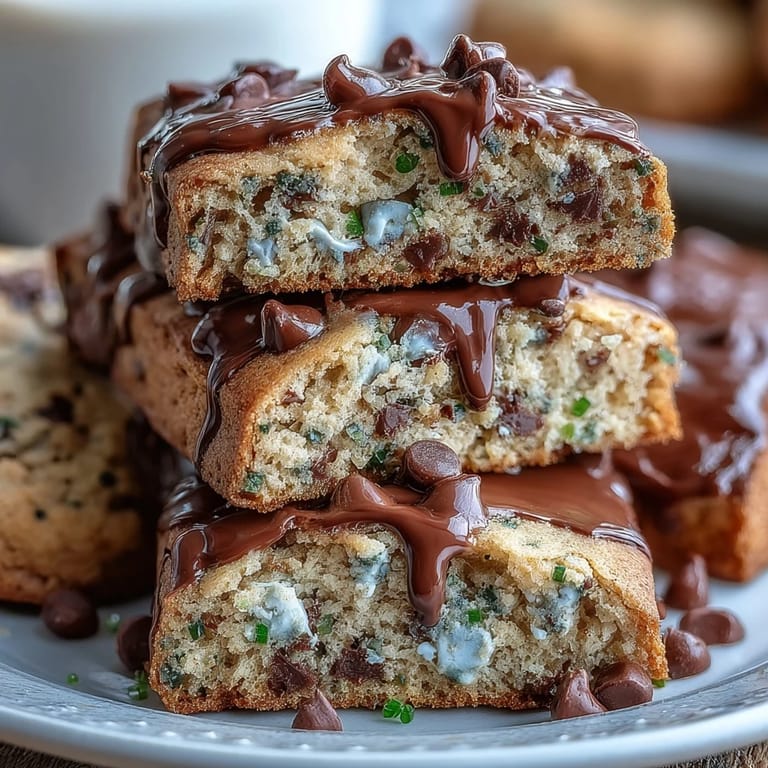
Last year I brought these to my daughter's school potluck, and three parents immediately asked for the recipe—which never happens to me. One mom said she'd been trying to recreate something similar for years but always made them too dry. Watching people reach for a second bar while barely finishing their first cookie made me realize the balance of chewy and crispy is actually the whole point here.
Ingredients
- All-purpose flour (2 1/4 cups): This is your foundation, and measuring by weight instead of volume prevents the kitchen disaster of too-dense bars that I made once when I accidentally packed the flour into my measuring cup.
- Baking soda (1/2 teaspoon): This tiny amount does heavy lifting by creating that tender crumb—skip it and you'll get something closer to shortbread.
- Salt (1/2 teaspoon): Don't treat this like an option; it's what makes the chocolate actually taste like chocolate instead of just sweetness.
- Unsalted butter, melted and cooled (1 cup): Melting it first makes the mixing infinitely easier, and cooling it slightly keeps your eggs from scrambling when they hit the mixture.
- Light brown sugar and granulated sugar (1 cup plus 1/2 cup): The combination of both creates depth and chewiness—using only one or the other changes everything about the texture.
- Large eggs (2): Room temperature eggs mix in smoother, though I've done this cold-from-the-fridge and it still worked fine.
- Vanilla extract (2 teaspoons): Pure vanilla matters here because the whole bar is built on simple flavors, so anything less tastes cheap.
- Semi-sweet and white chocolate chips (1 1/2 cups plus 1/2 cup): This ratio gives you both richness and brightness, though you can swap in milk chocolate or even dark if that's what calls to you.
- Green sprinkles or sanding sugar (1/4 cup): These are half stirred into the dough and half scattered on top for that festive look that makes people smile.
- Green chocolate candies and clover sprinkles (optional): These are the unnecessary-but-magical finishing touches that turn a good bar into one someone remembers eating.
Tired of Takeout? 🥡
Get 10 meals you can make faster than delivery arrives. Seriously.
One email. No spam. Unsubscribe anytime.
Instructions
- Heat your oven and prep your pan:
- Set the oven to 350°F and line your 9x13-inch pan with parchment paper, making sure some hangs over the edges so you can lift the whole thing out later. This overhang is your secret to clean cuts and zero bars left stuck to the corners.
- Combine the dry ingredients:
- Whisk together the flour, baking soda, and salt in a medium bowl and set it aside. This simple step prevents lumps and ensures the leavening is spread evenly throughout.
- Mix the wet base:
- In a large bowl, whisk the melted butter with both sugars until the mixture looks smooth and combined, about a minute of actual work. You're aiming for something that looks almost like wet sand at the beach.
- Add eggs and vanilla:
- Crack the eggs in and add the vanilla, whisking steadily until everything is well incorporated and the mixture looks slightly lighter. This should take maybe two minutes and feel effortless—if you're fighting it, you're probably overthinking.
- Fold in the dry ingredients:
- Using a spatula instead of a whisk, gently fold the dry mixture into the wet mixture until you just don't see streaks of flour anymore. The moment you stop seeing white patches, you're done—overmixing toughens these bars and nobody wants that.
- Stir in the chocolate and half the sprinkles:
- Gently stir in the semi-sweet chocolate chips, white chocolate chips, and half of your green sprinkles, mixing just until distributed. The goal is a speckled dough that looks festive but not overdone.
- Spread and top:
- Pour the dough into your prepared pan and spread it evenly using a spatula or the back of a wooden spoon. Sprinkle the remaining green sprinkles, candies, and clover shapes across the top so every bar gets a share of the celebration.
- Bake until golden:
- Bake for 23 to 26 minutes, checking around the 23-minute mark by inserting a toothpick in the center—you want it to come out with a few moist crumbs, not clean. Overbaking by just two minutes turns these from chewy into dry, so set a timer and actually use it.
- Cool and cut:
- Let the bars cool completely in the pan before trying to lift them out, which takes about an hour and tests your patience. Once cool, use the parchment overhang to lift the whole sheet out, then cut into 16 even squares with a sharp knife.
 Save
Save There's a moment when you pull these out of the oven and the kitchen just smells like butter and chocolate and hope, and that's when you know this recipe is worth keeping around. My friend Sarah said these tasted like memories, and I think she meant they taste like celebration, which is really the same thing.
Storage and Make-Ahead Options
These bars actually improve slightly after a day or two as the flavors settle and the texture becomes more uniform, so making them the day before isn't a problem—it's a strategy. I've kept them in an airtight container on the counter for up to five days with zero issues, though they're rarely still around that long.
- For freezing, stack them between parchment paper in an airtight container and they'll last up to two months without any texture change.
- You can even freeze the unbaked dough in the prepared pan, then bake directly from frozen—just add 3 to 4 minutes to the baking time.
- Thaw frozen bars at room temperature for about 30 minutes before serving if you want them soft, or eat them straight from the freezer if you like a firmer bar.
Customization Ideas That Actually Work
The beauty of these bars is that they're flexible enough to bend without breaking, so feel free to riff on what feels right for your kitchen. I've swapped in dark chocolate for semi-sweet when that's what I had, added crushed candy canes in December, and even tried a drizzle of melted white chocolate on top with extra green sprinkles.
Why These Bars Disappear So Fast
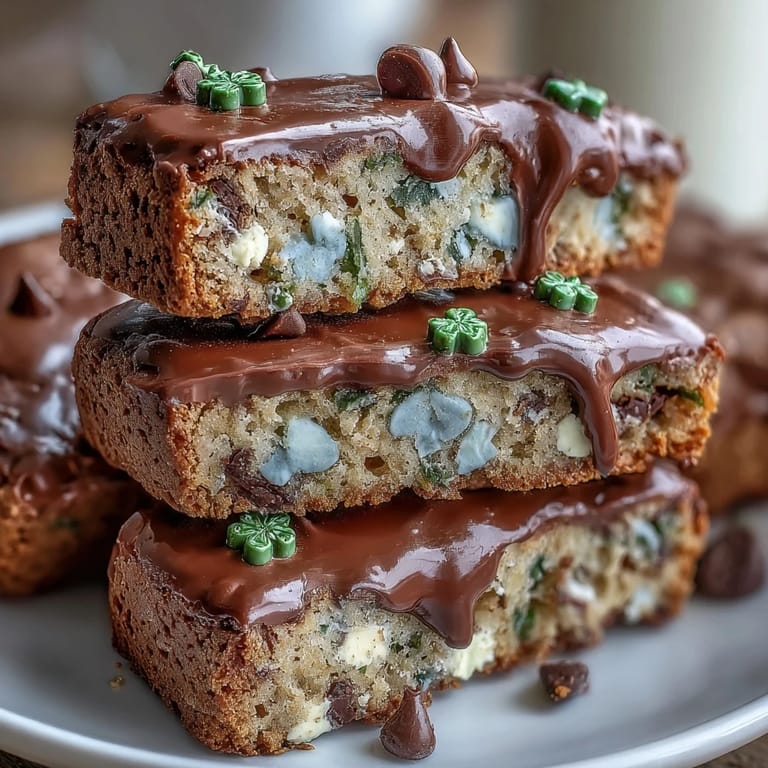
It's partly because they're festive and partly because they're just straightforward delicious—the kind of bar that doesn't try too hard or apologize for existing. They're thick enough to pick up with your fingers, soft enough that your teeth sink in easily, and pretty enough that people eat them before they've even thought about saying no.
- Keep a batch hidden in the freezer because someone will always want one more after they think they've had their share.
- These pair perfectly with coffee in the morning or milk in the afternoon, making them dangerously easy to justify at any time.
- A single bar feels generous enough for dessert but small enough that eating two doesn't feel excessive, which is a rare balance to strike.
 Save
Save These bars have become my answer to the question of what to bring when someone asks you to bring something for St. Patrick's Day. There's something honest about handing someone a bar wrapped in green napkins and seeing their face light up when they bite into the chocolate and chewy center.
Recipe FAQs
- → What type of chocolate chips are used?
Semi-sweet and white chocolate chips are combined to create a balanced sweet flavor and contrasting texture in the bars.
- → Can I add nuts to these bars?
Yes, chopped nuts can be mixed in as a substitute for some chocolate chips to add crunch and extra flavor.
- → How do I prevent the bars from sticking to the pan?
Line the baking pan with parchment paper, leaving an overhang to easily lift the bars out after baking.
- → Are these bars suitable for freezing?
Absolutely, they freeze well when stored in an airtight container, keeping their texture and flavor intact for up to two months.
- → What is the best way to achieve a chewy texture?
Using a blend of brown and granulated sugars along with melted butter helps create the perfect chewy consistency in these bars.
- → Can the green sprinkles be replaced?
Yes, you can swap green sprinkles for other colored sanding sugars or candies to suit different occasions or preferences.